


One of the coolest things I’ve seen to print so far is this Platform Jack on Thingiverse. The platform jack, also known as a scissor lift, or jack stand, contains many moving parts, but it incredibly prints as one part, fully assembled, with no supports required!
Here’s a video (not my own) that demonstrates how the platform jack works:
My Solidoodle Press 3D printer is not as well equipped as more expensive printers, so many objects are very challenging to print especially if precision is a key concern. ABS, the type of plastic filament used by the Press, also tends to wrap and crack for many types of prints. However, with some persistence and careful research, I managed to print a working platform jack, using ABS, on my Press! Read on for my results, and the settings I used in the Simplify3D software.
My Results
My first attempt was not successful. The screw fell apart easily, since it was hallow on the inside with a weak outside shell. My second attempt was 100% solid, but the arms were still too brittle, and broke before I even removed the jack from the printer.
Finally, I tweaked more of the print settings, and increased the size of the jack by 10%. After 5 hours, the print was done, and I was ready to inspect it. It looked OK on the outside. I removed it from the printer, made sure the individual pieces weren’t sticking together, and then turned the screw. It worked! The jack extended. It opened and closed several times without any pieces breaking or other difficulties. I had finally printed the platform jack successfully!
-
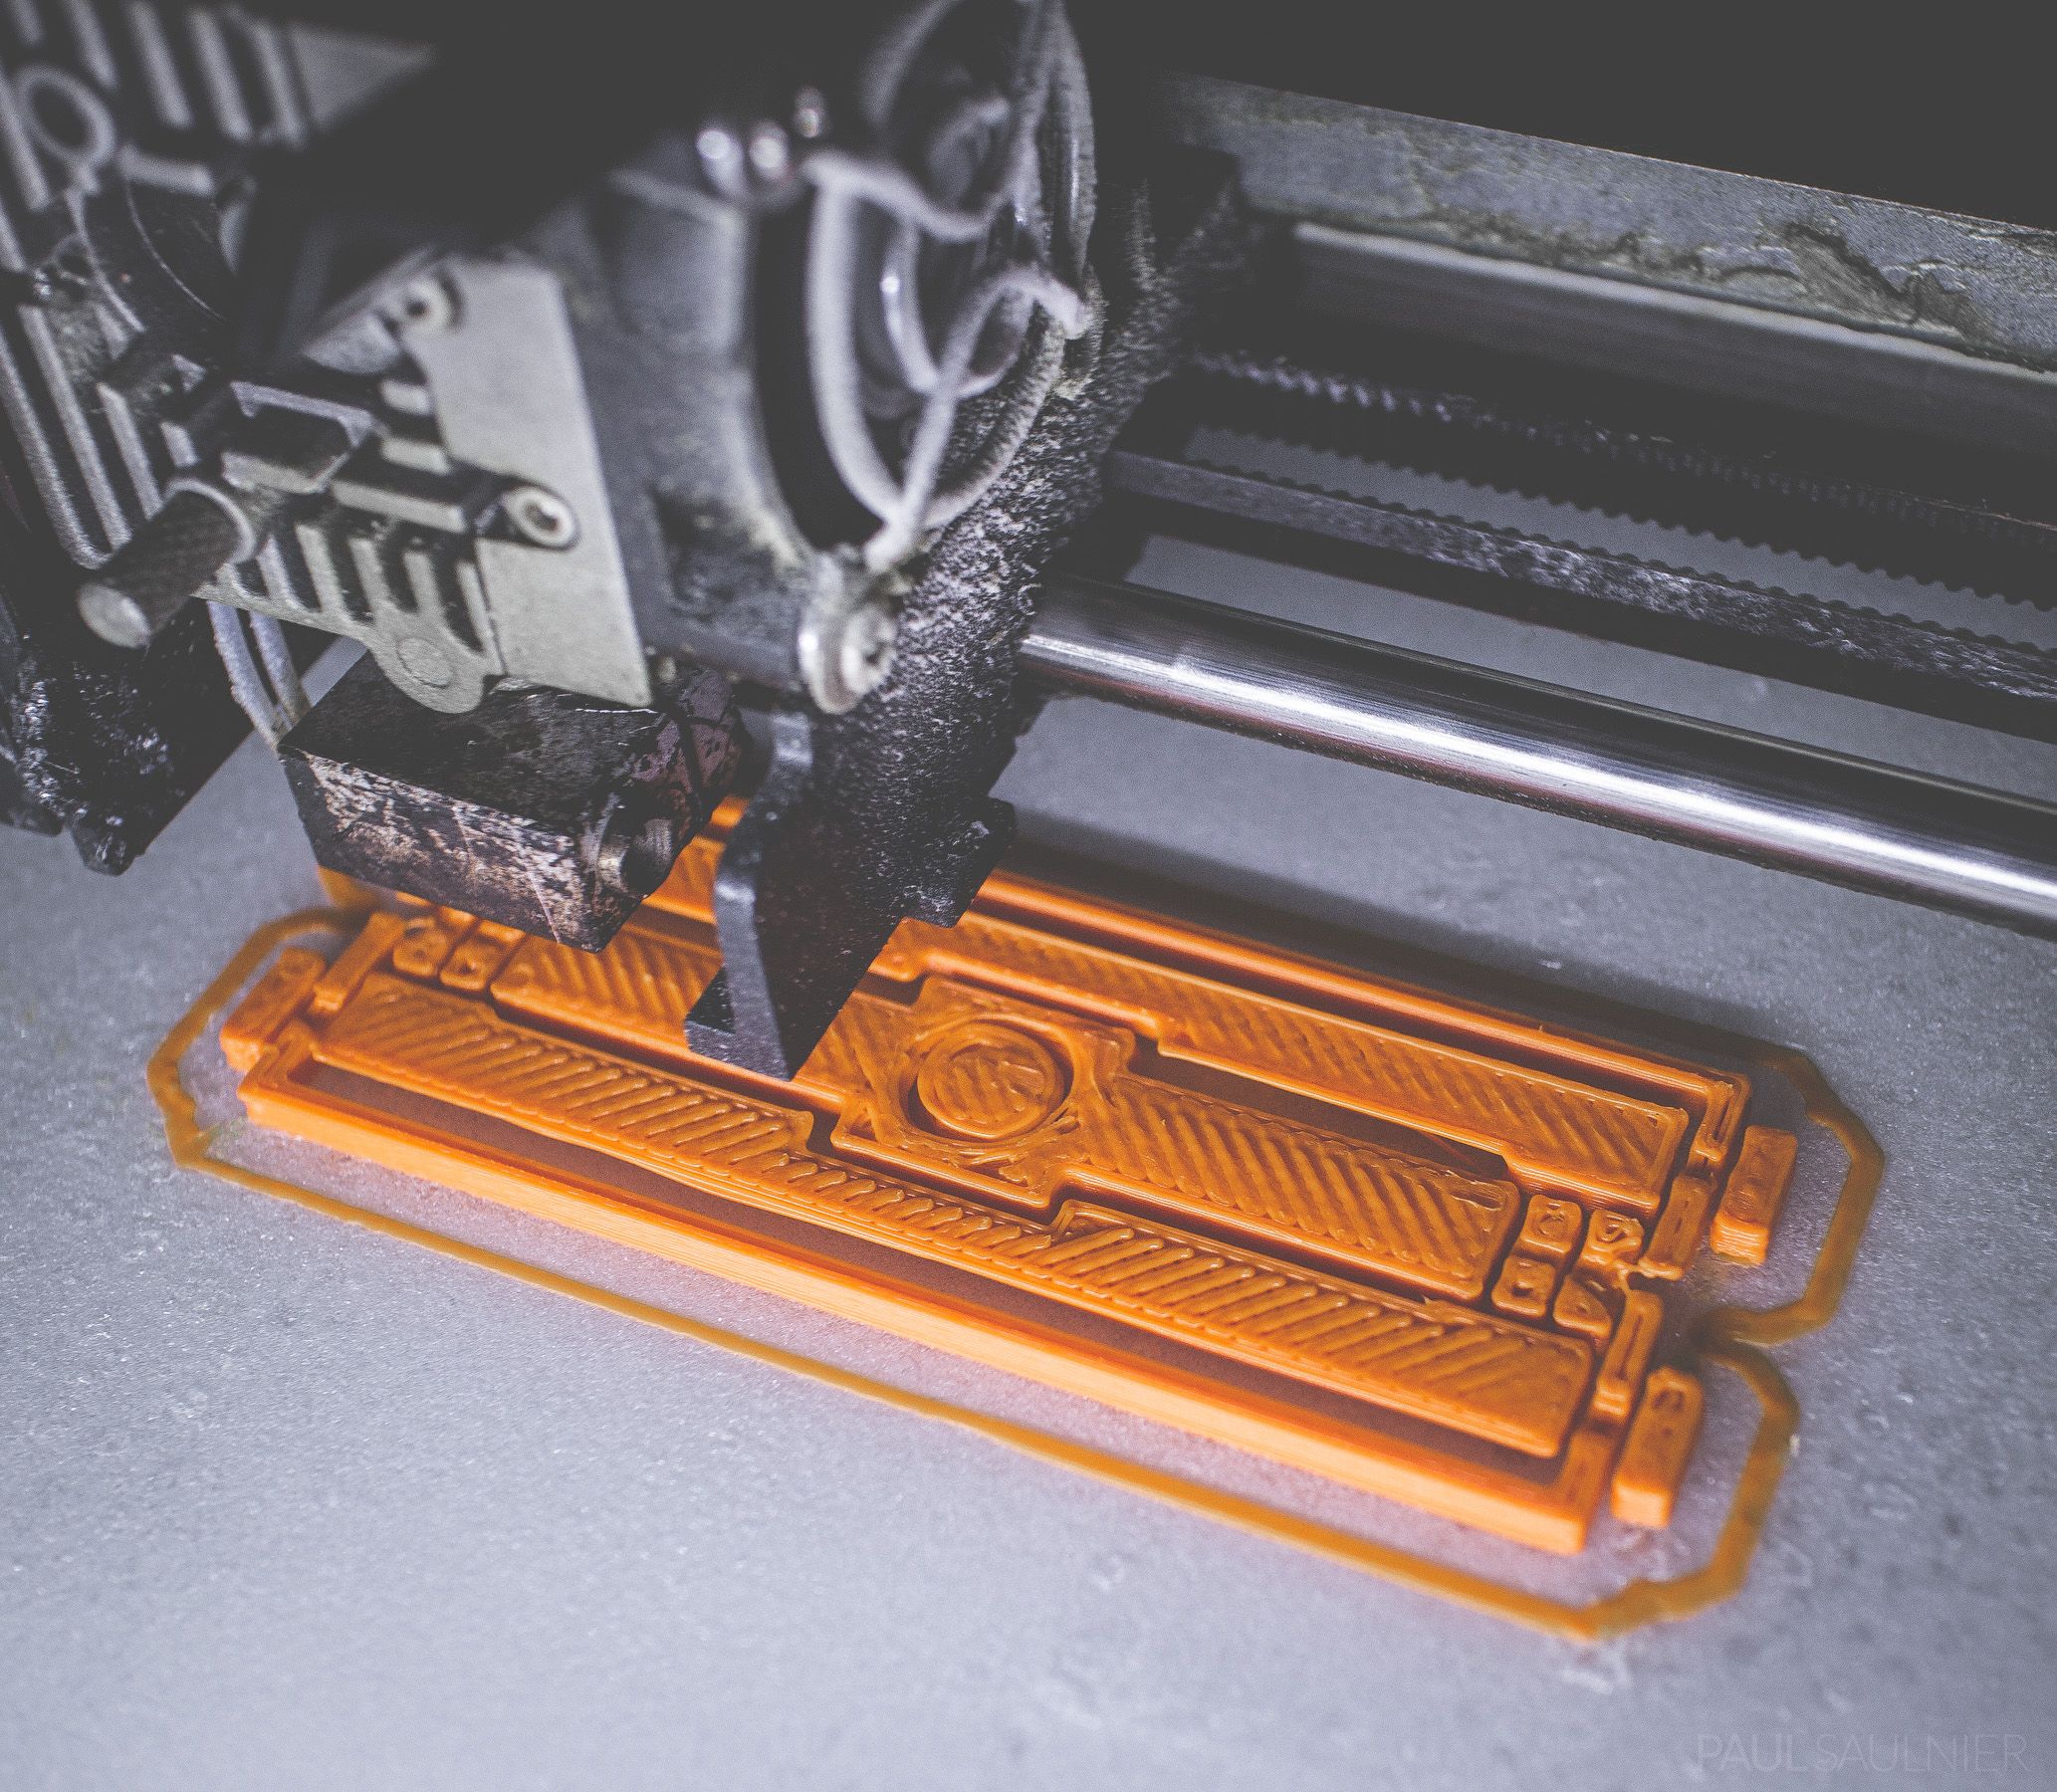
- Layer by layer, the printer builds the object. You can see how small some of the pieces are.
-

- About a third of the jack was done at this point. So far, so good!
-

- The finished platform jack is fully closed, and standing up as shown here. The sides show significant warping and a couple cracks, but this didn’t impair the function of the jack at all.
-

- This view shows how the jack was designed, and the pieces that make it work.
-

- The jack fully extends up to around 20cm. It is supposedly quite sturdy for holding objects of several pounds, but I didn’t want to test mine since it probably has weak points. You can see how the warping has affected the tracks used by the arms.
Simplify3D Settings
I used the following settings in Simplify3D.
- Scale: 110%
- Infill Percentage: 100%
- Extrusion Multiplier: 0.85
- First Layer Width: 200%
- Primary Layer Height: 0.3mm
- Temperature: 240 degrees Celsius
- Horizontal size compensation: -0.07mm (as recommended by 3D Printing Nerd on YouTube)
Very neat!
Did you use ABS and how long did it take?
I used ABS and it took about 5 hours! I’ve updated the post to reflect this as well. 🙂